Editing a Client
Access the Client Details by selecting the Client you want to edit in the Clients list
You will notice that there are several key tabs, which we will cover in detail.
You will observe the tabs available to edit are Details, Resources, Application URLs and Advanced.
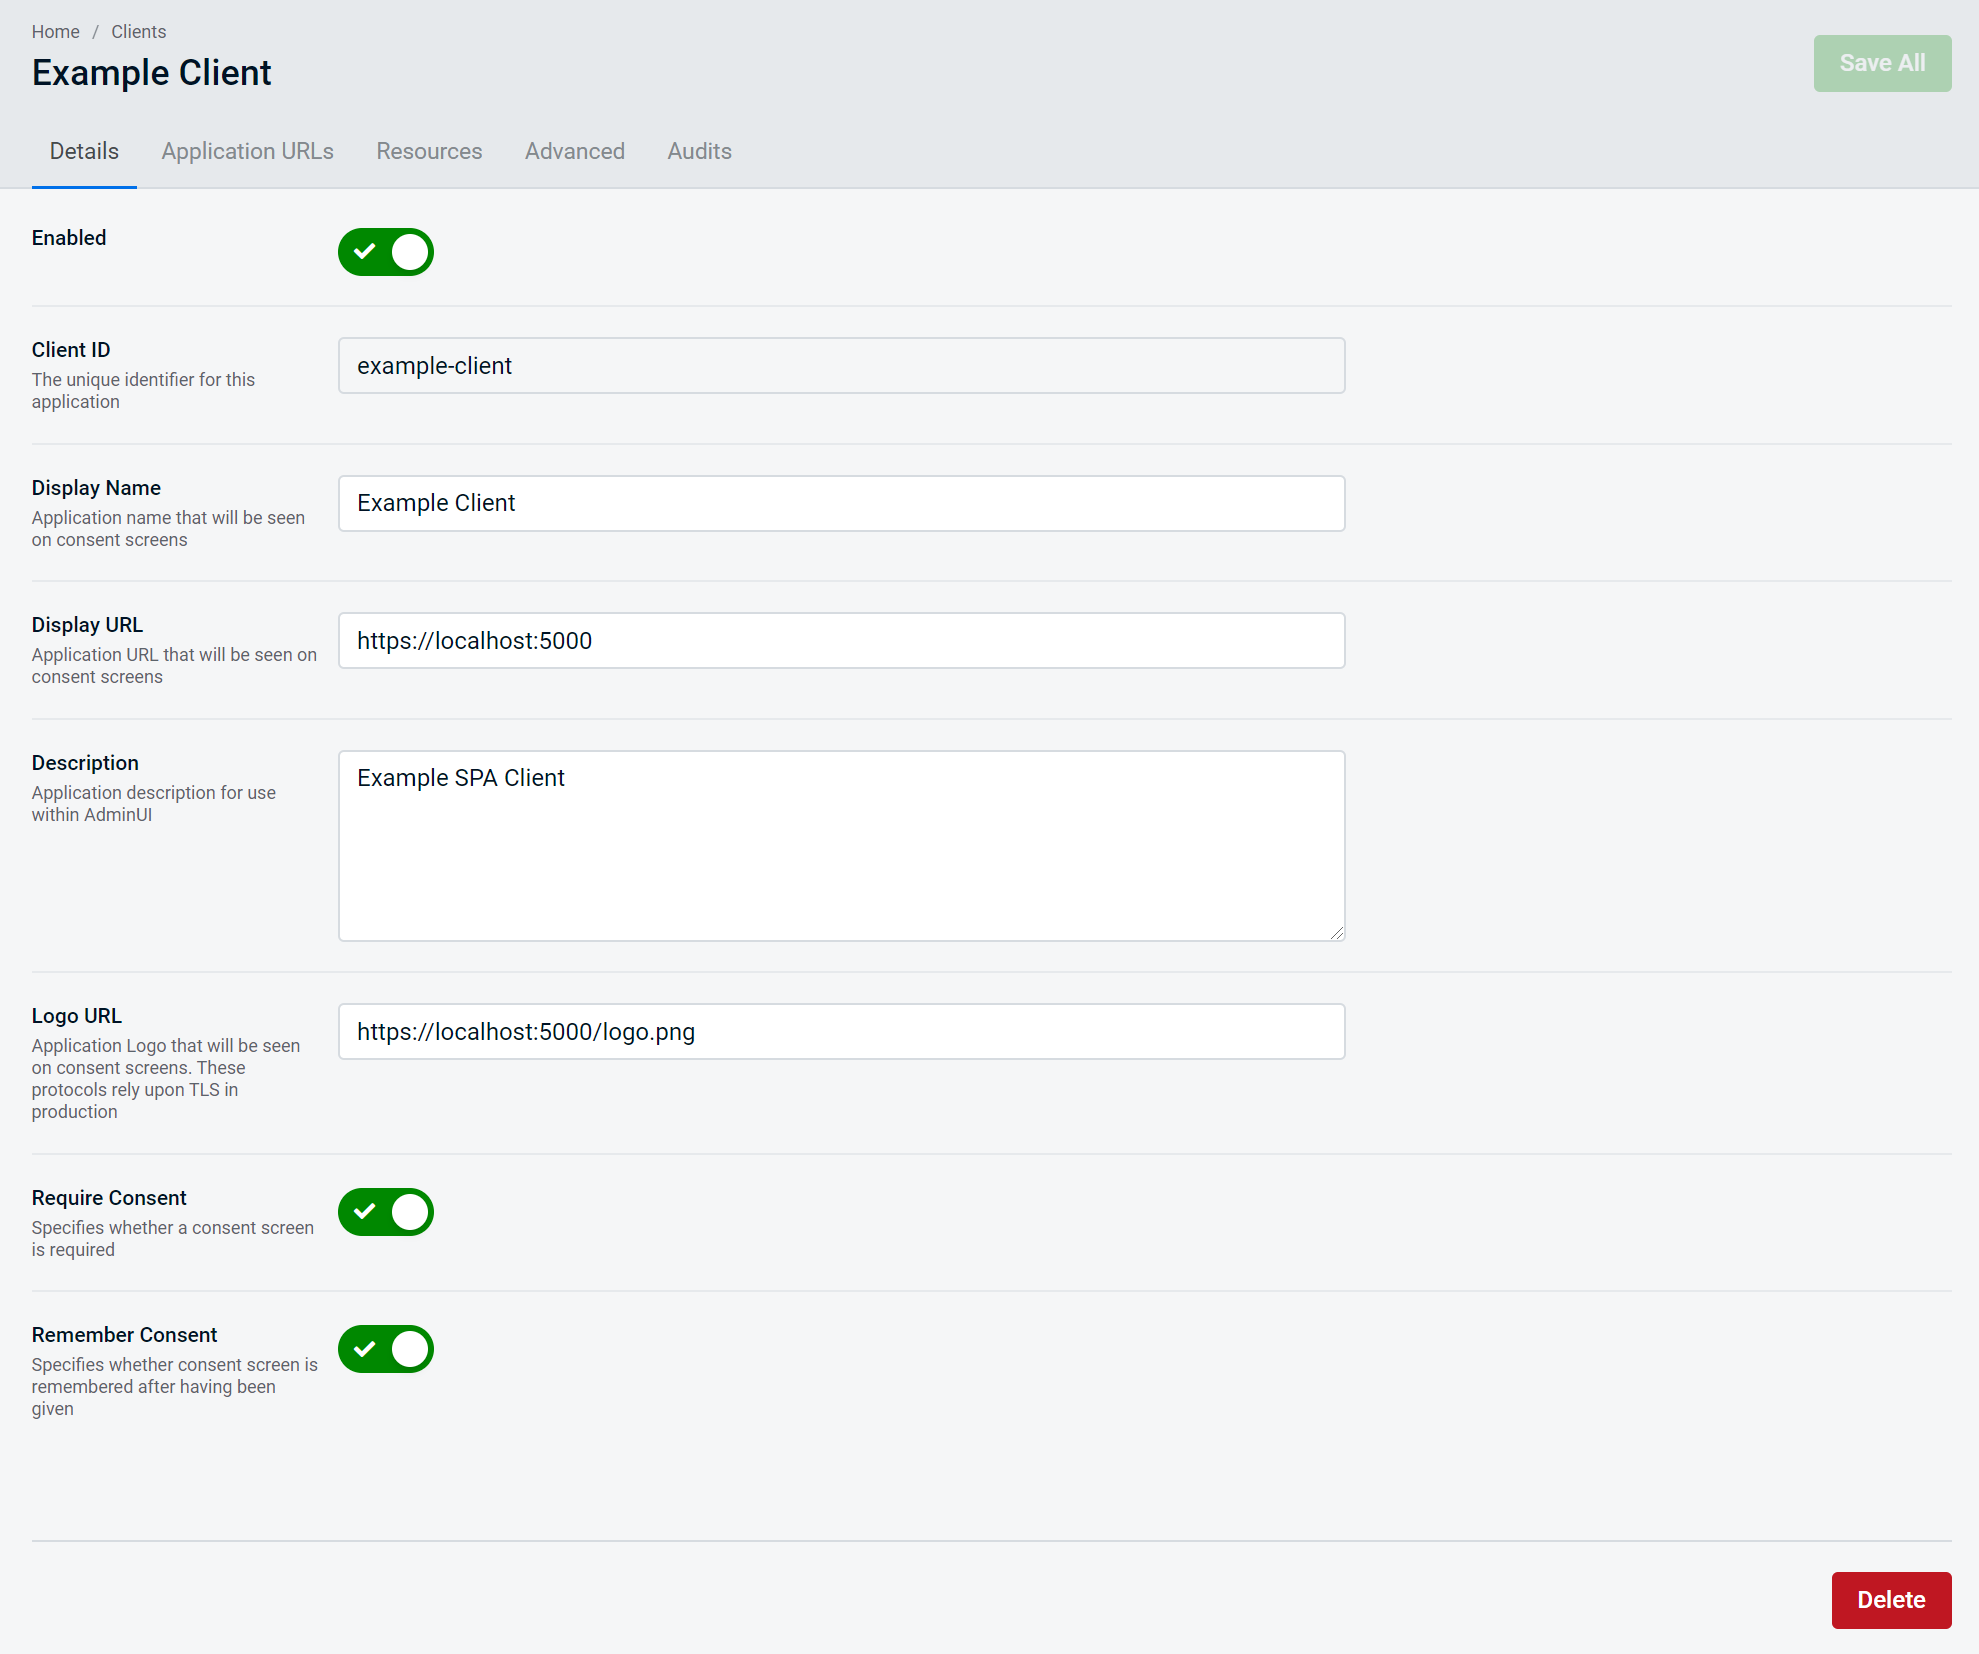
On the Details tab, there is a display of the following:
Client IDReadonly display of the Unique identifierDisplay URLApplication URL that will be seen on Consent ScreensDisplay NameApplication name that will be seen on Consent ScreensLogo URLApplication Logo that will be seen on Consent Screens (Must be HTTPS)DescriptionApplication description for use within AdminUIStatusThe status of the Client (e.g. Disabled/Enabled)
There is the option to Save the updated changes, or to Delete the Client, which will be covered in more detail later.
Editing Client Resources
It is possible to assign and unassign Client Resources via the Resources tab of the Client Details Edit page.
Click the Client "Resources" tab:
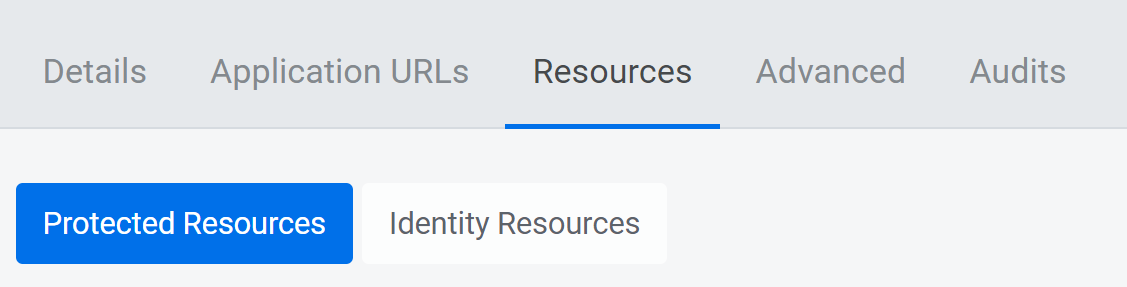
You will then be able to switch between either Protected Resources or Identity Resources.
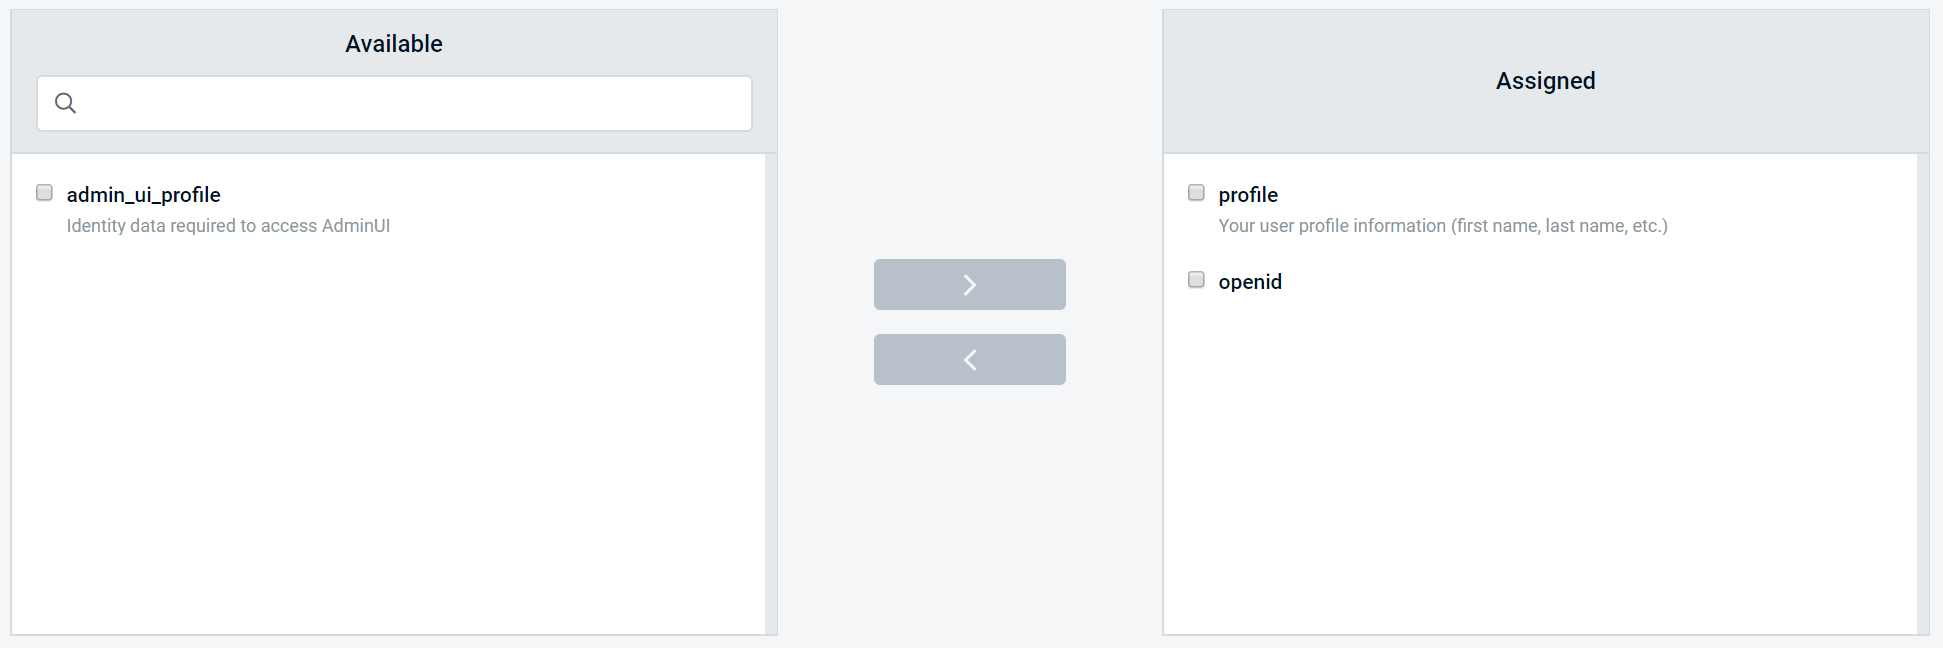
Assigning Client Resources
To assign Client Resources, after selecting either the Protected Resources or Identity Resources button, you will see a dialogue used throughout AdminUI that allows you to assign or unassign resources via clicking the arrow:
Successful Client Details Edit
Once you have successfully made the edits you require, click Save, and you should then see a success dialogue informing you that your changes have been saved. Your changes should be active in the Client immediately.
Updating Application URLs
Through the Client interface on the Application URLs tab, you will see the option to updated Application URLs.
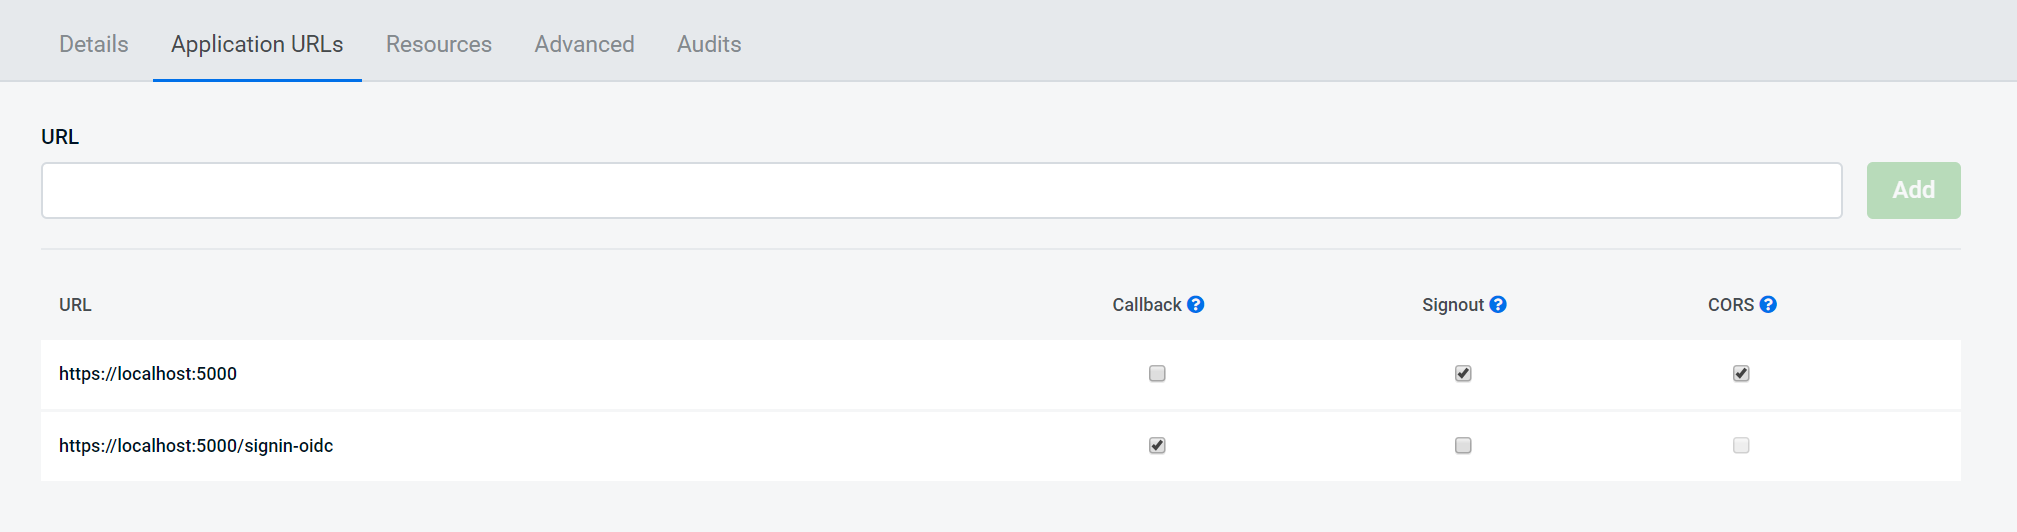
You can add a new URL via the text-box, and the "plus" button icon to add to the list of Application URLs.
There are several options for each URL:
Callbackcan send tokens to this URLSignoutcan redirect to this URL after signoutCORSDomain that can make cross-origin requests
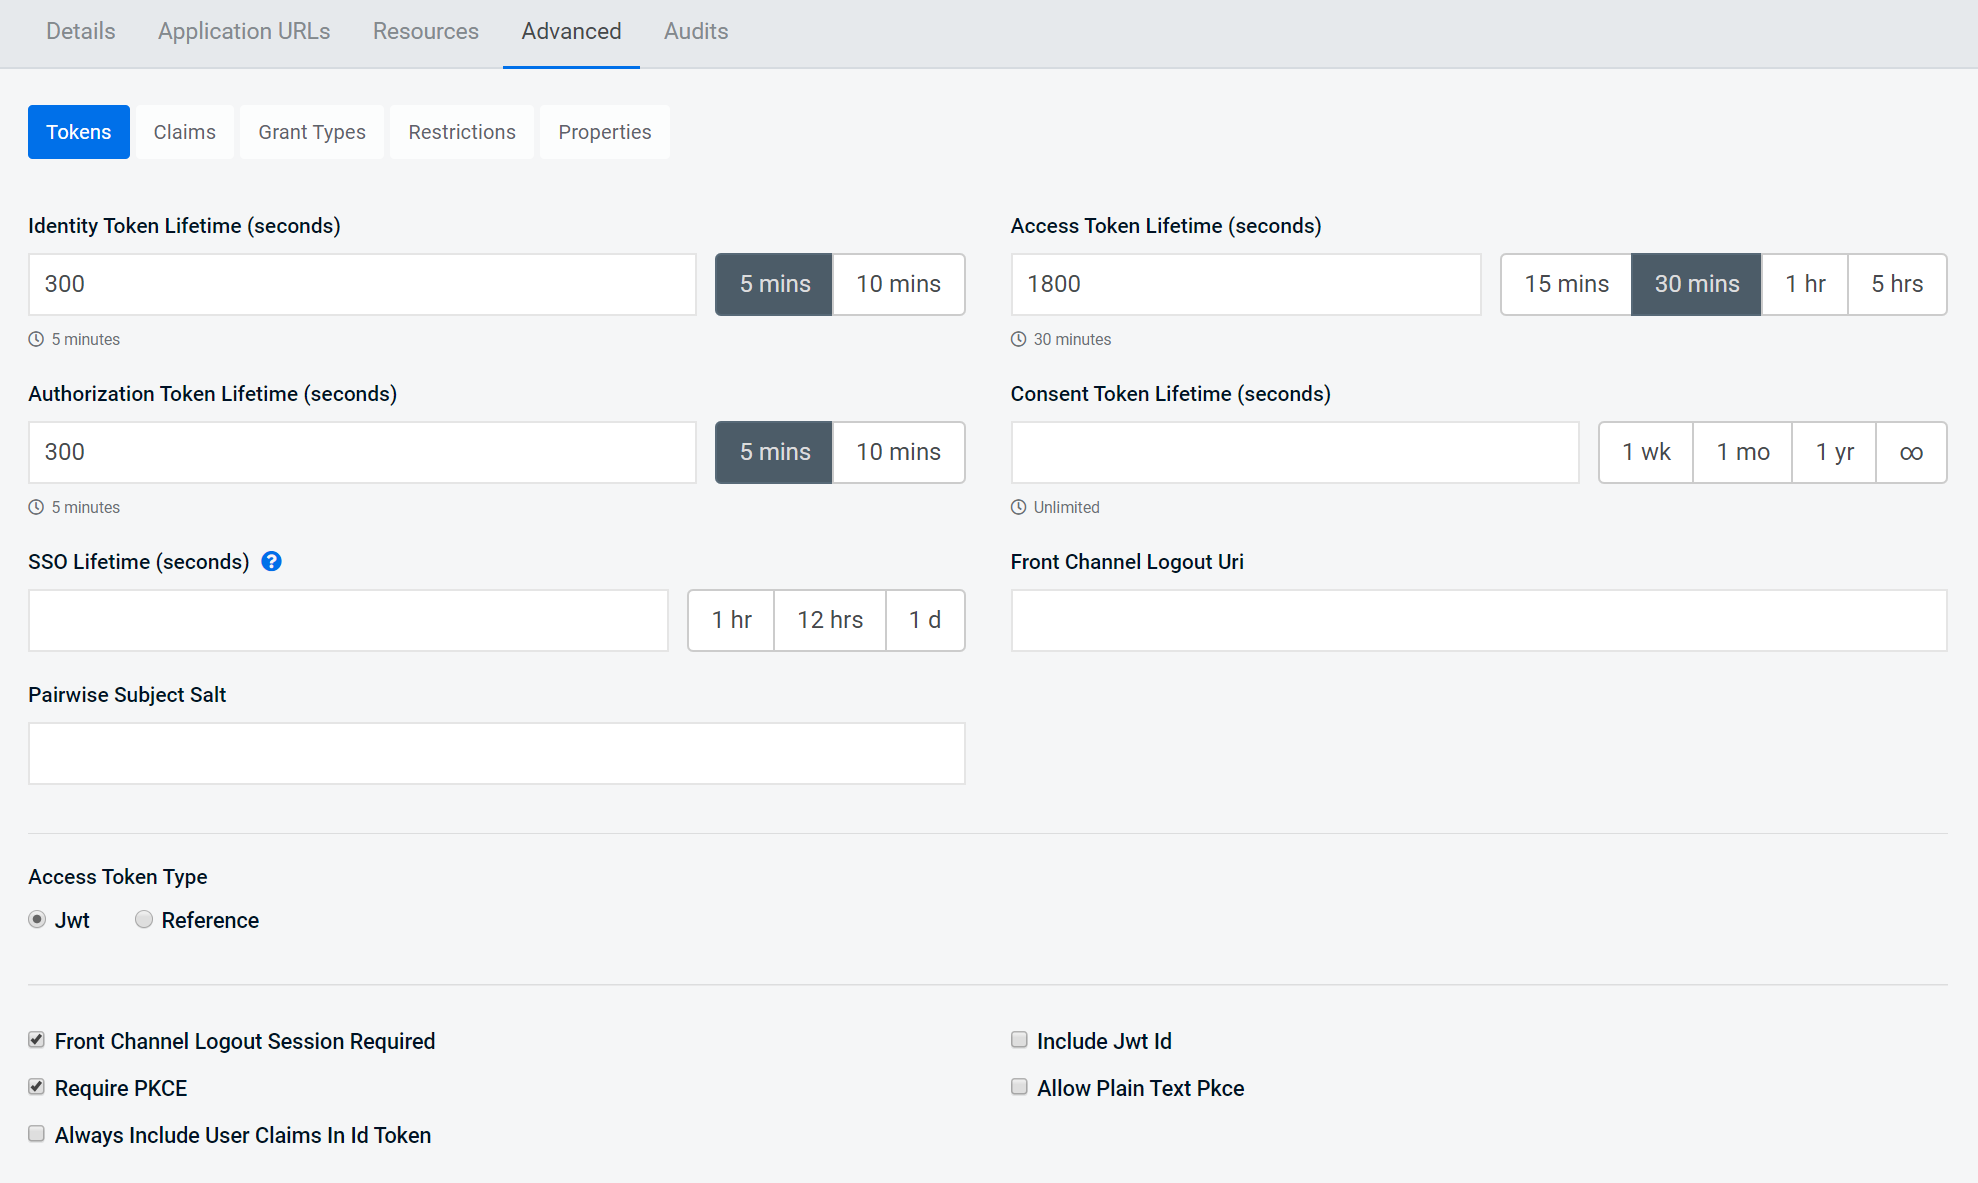
Advanced Tokens Configuration
Tokens can be configured further via the Advanced Screen.
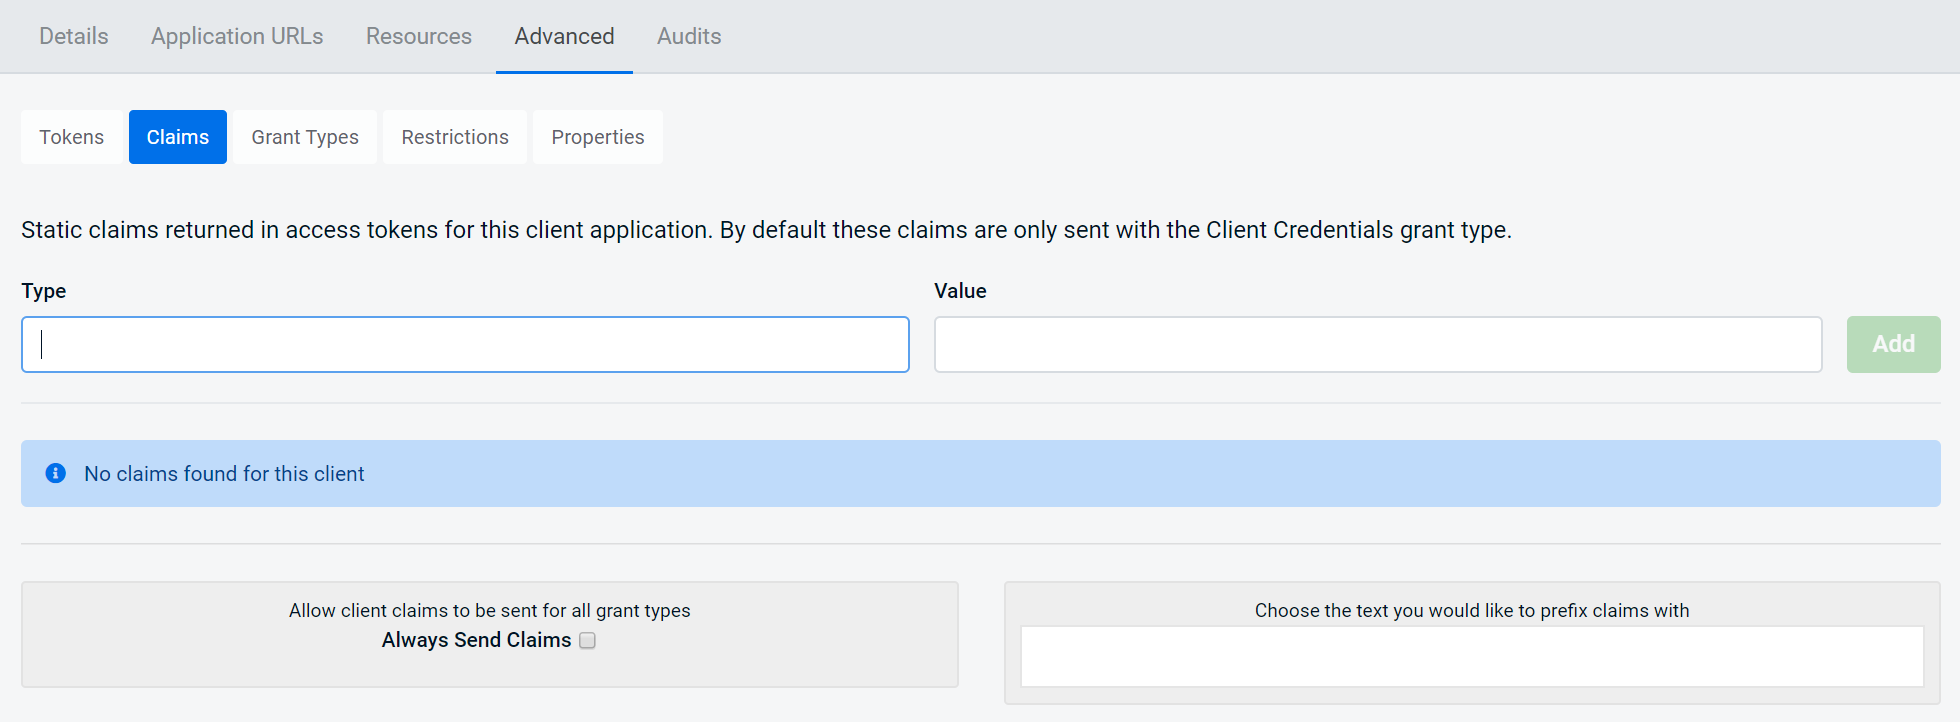
Advanced Claims Configuration
Claims can be configured via the Advanced tab by selecting Claims.
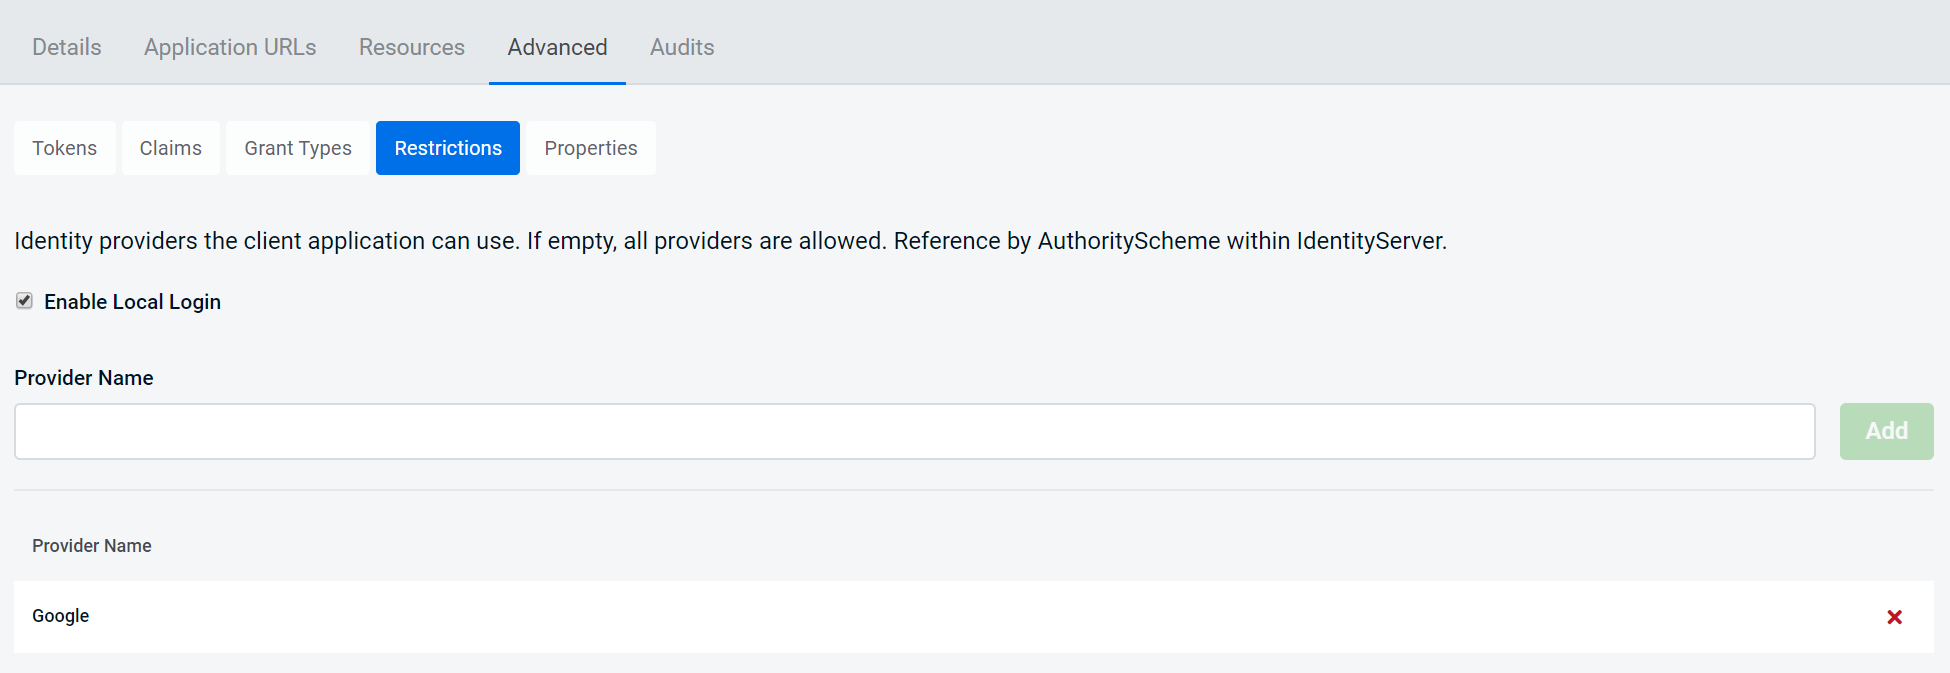
Advanced Restrictions Configuration
Restrictions configuration can be added via the Advanced Clients tab.